What is Plying?
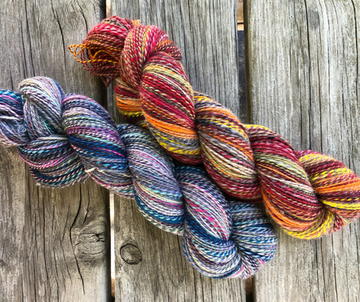
In its simplest form, plying is the process of twisting two or more single strands (or 'singles') of yarn together, with the twist direction opposite to that in which they were spun. This counter-twist not only gives your yarn added strength and durability, but it also creates a balanced yarn that won't twist up on itself when knit or woven into your next masterpiece.
What You'll Need:
- Two or more 'singles' of spun yarn.
- A drop spindle (this could be either your spinning spindle, or a larger spindle specifically designed for plying).
- A lazy kate or some other method to hold your singles while you ply.
- Your own two hands, ready to create!
Plying with a Drop Spindle: Step-by-Step
- Prepare your Singles: Start by winding your singles onto separate bobbins, spools, or anything that allows them to unwind freely. If you have a lazy kate, great! If not, a couple of upright books can do the trick in a pinch.
- Set Up Your Spindle: If you're using a spindle specifically for plying, it might be larger and heavier than what you used to spin your singles. That's perfect. Start by attaching a leader (a length of yarn) to your spindle.
- Join Your Singles: Next, tie the ends of your singles to the leader on your spindle.
- Start Spinning: Now comes the fun part - plying! Begin spinning your spindle in the opposite direction to which you spun your singles. If you spun your singles clockwise (Z-twist), you'll ply counterclockwise (S-twist), and vice versa. Remember to let the twist run up into the fibers.
- Maintain Tension: Keep tension on your singles to prevent them from twisting onto each other prematurely. It may feel tricky at first, but you'll quickly find a rhythm that works for you.
- Wind On: Once you have plied a length of yarn, wind it onto the spindle, leaving the loop at the top.
- Continue the Process: Repeat the process until you've plied all of your yarn.
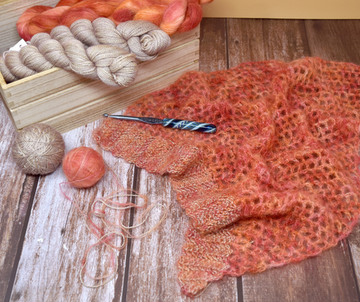
- Finish Your Yarn: Once you've plied all of your singles, you can wind your newly plied yarn into a hank using a niddy-noddy or your arm, and then tie it in a few places to secure.
- Set the Twist: Lastly, soak your yarn in warm water with a touch of mild soap to "set" the twist. Rinse carefully, squeeze out (don't wring!) the water, and hang your yarn to dry.

There you have it: a beautifully plied, balanced yarn that you made yourself. The real beauty of hand-plying is that you get to control every aspect of the yarn, from thickness to color to texture. You're not just a yarn user, you're a yarn designer!
Plying your own yarn can be a rewarding, even meditative, process. So, next time you're in our fiber store, consider picking up a drop spindle and some of our lovely roving to give it a try. You might be surprised how addictive it can be. Plus, there's nothing quite like the sense of accomplishment from knitting or weaving with yarn you spun and plied yourself. It's like making your own homemade bread, but even better because you can't accidentally burn yarn in the oven!
Of course, there's always more to learn. Different plying techniques can yield different results, and different fibers behave differently, too. Exploring these variables is part of the joy of the fiber arts. So don't stop here!
Keep in mind that like any craft, plying yarn takes practice. Your first attempts might not be perfect, but each skein will get better and better. And remember: in the world of handmade, imperfection is part of the charm.