I've never been super impressed with the "gradient" yarns available commercially. The color changes are always too abrupt. You know what they say, if you want something done right you have to do it yourself! Learn how easy it is to spin your own gradient yarn in today's post.
Our friend malia.mayed.it over on Instagram breaks down the whole process for you in a quick reel that you can view here. Or, keep reading to see the step by step.
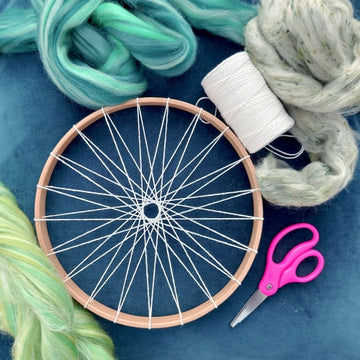
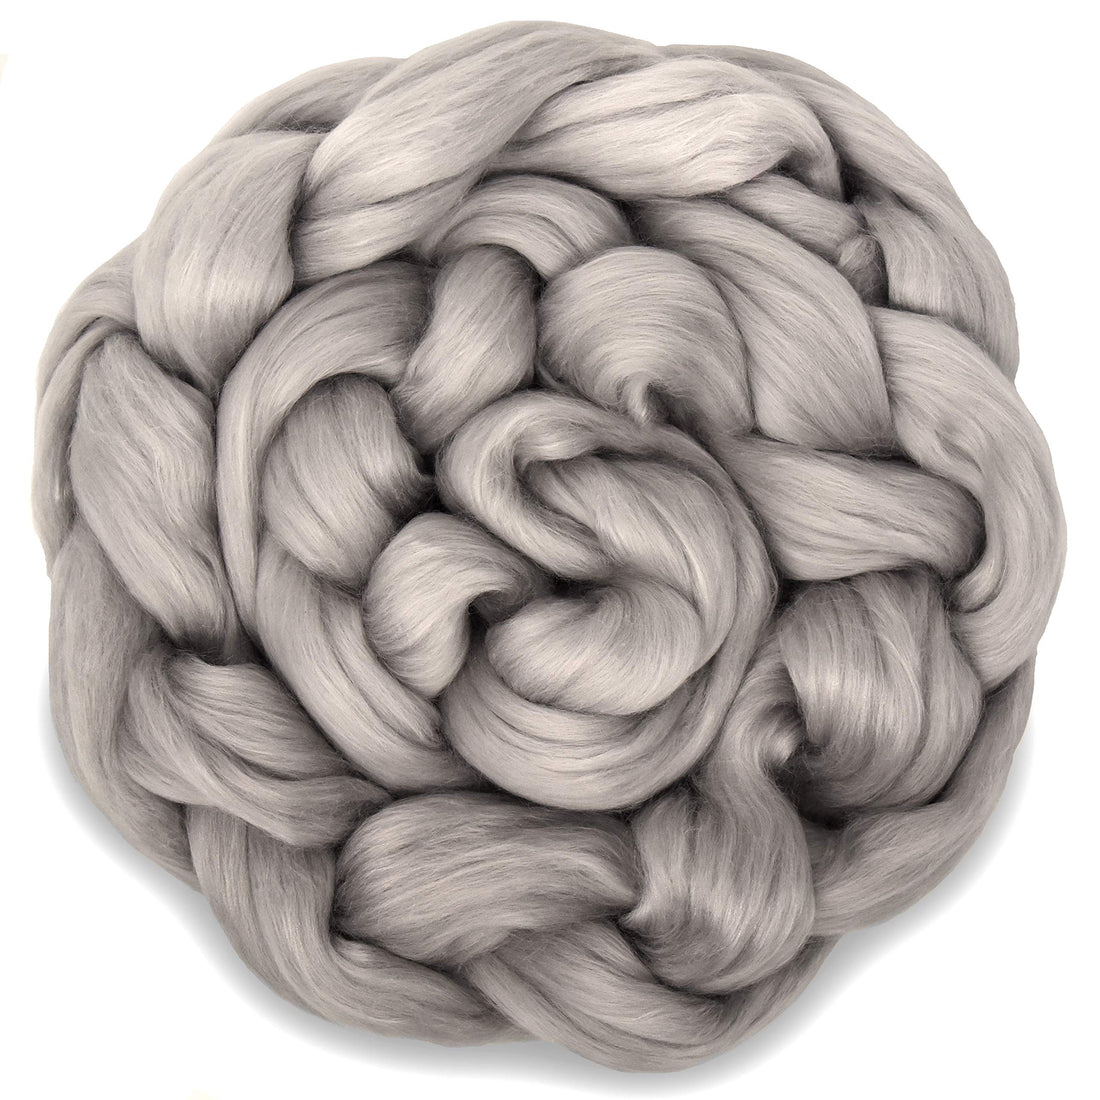
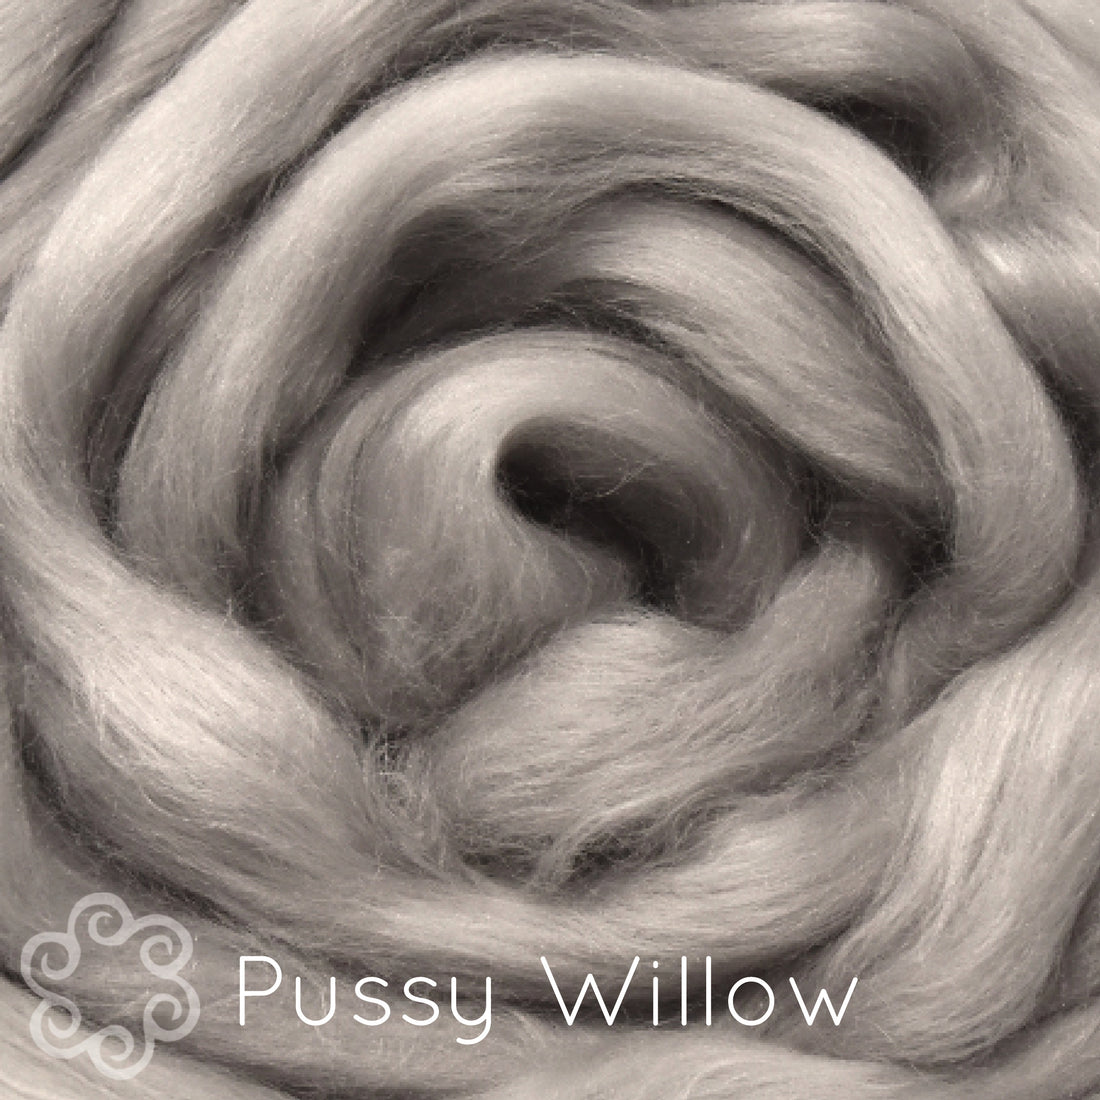
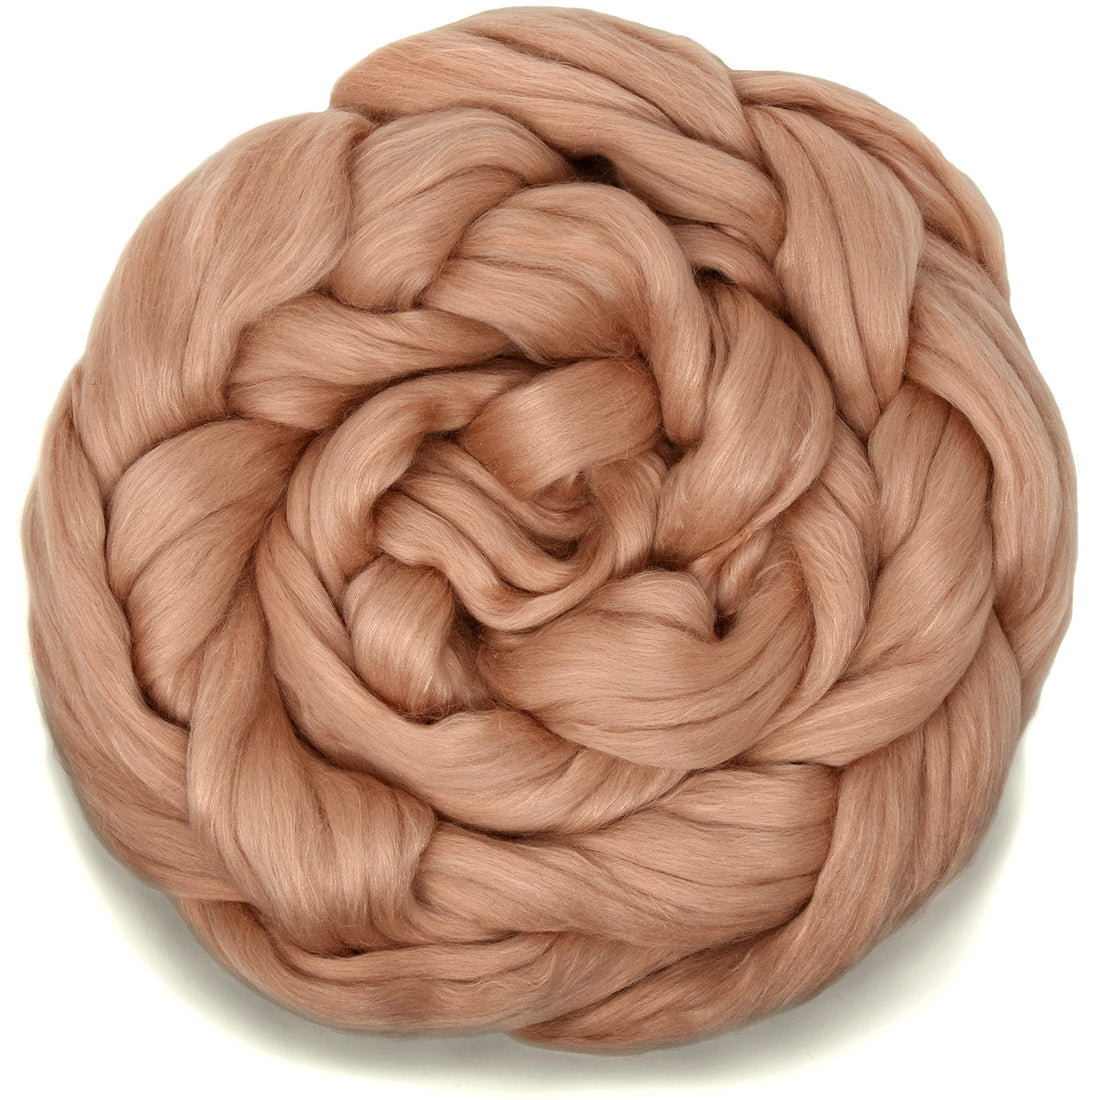
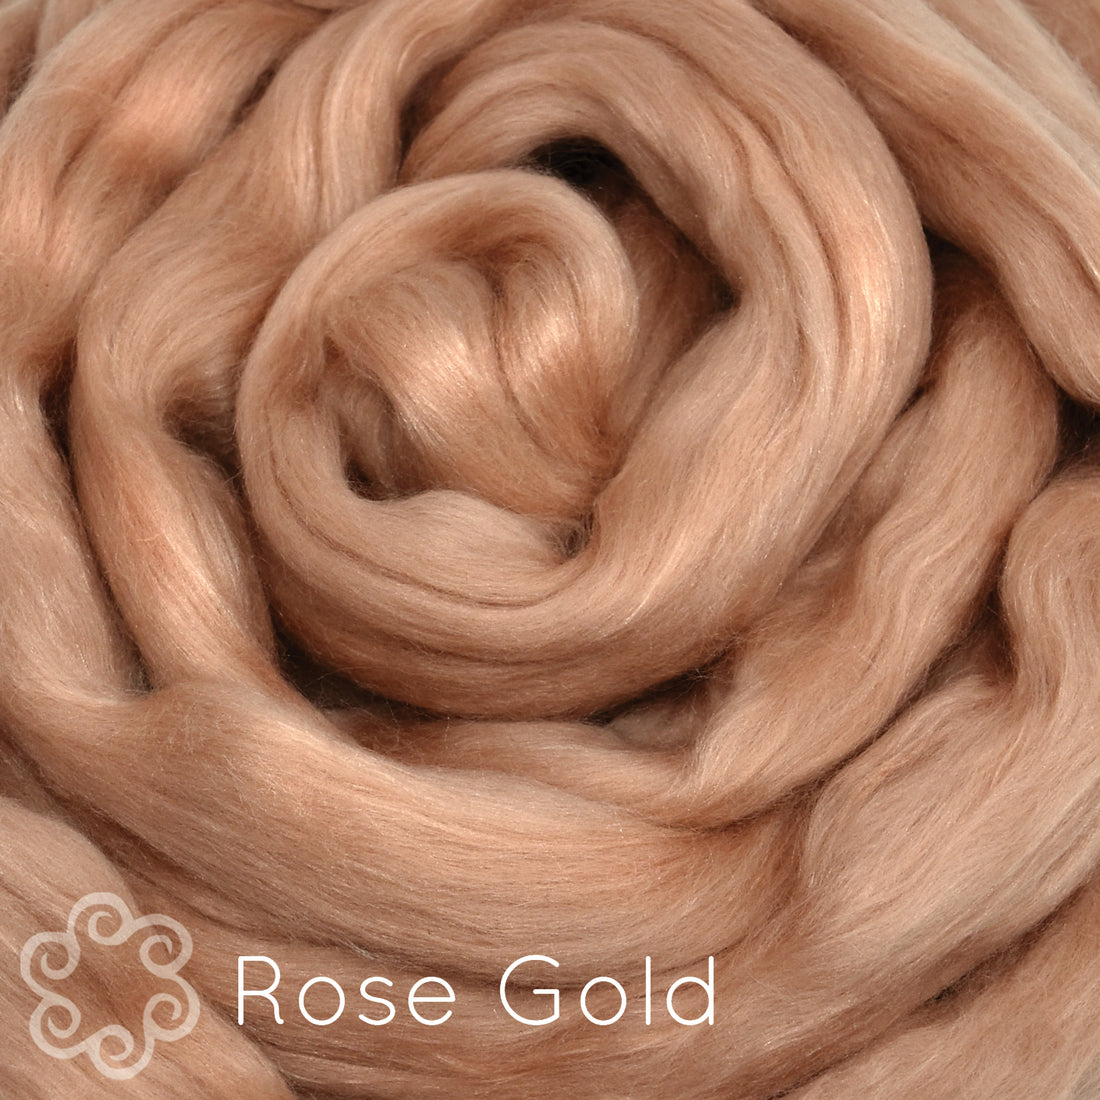
Step 1 - Pick Your Fiber
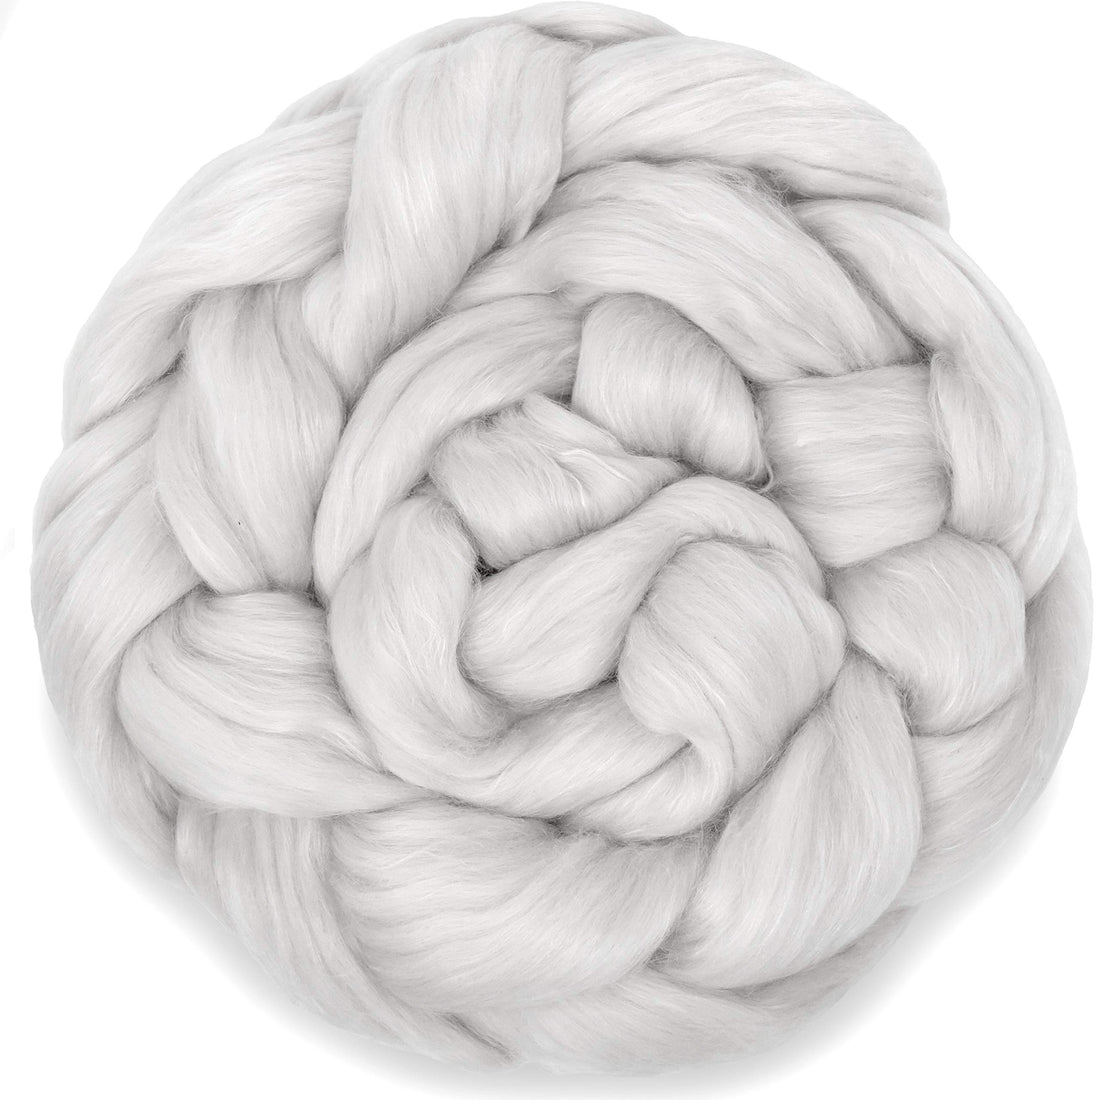
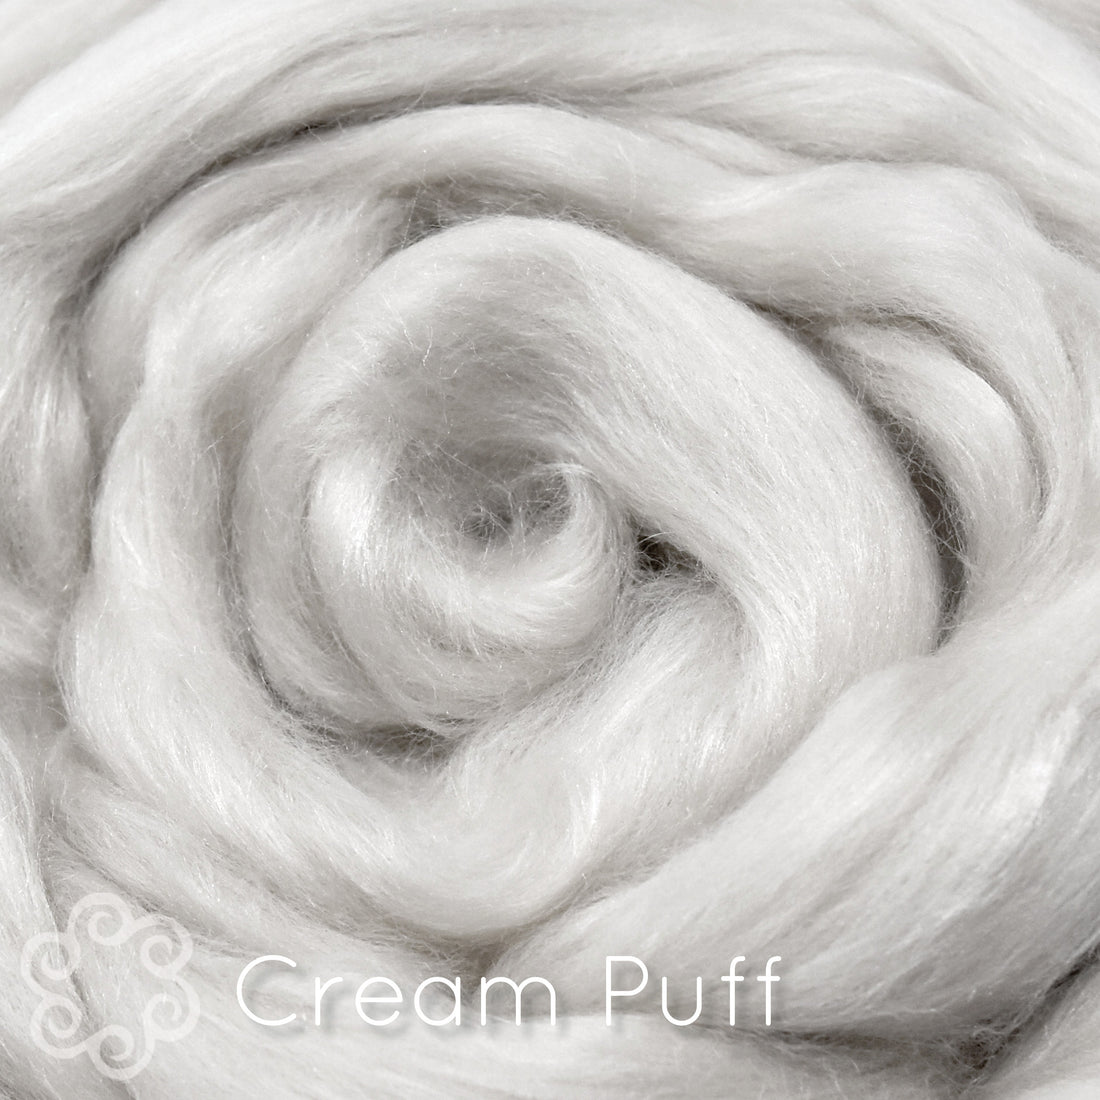
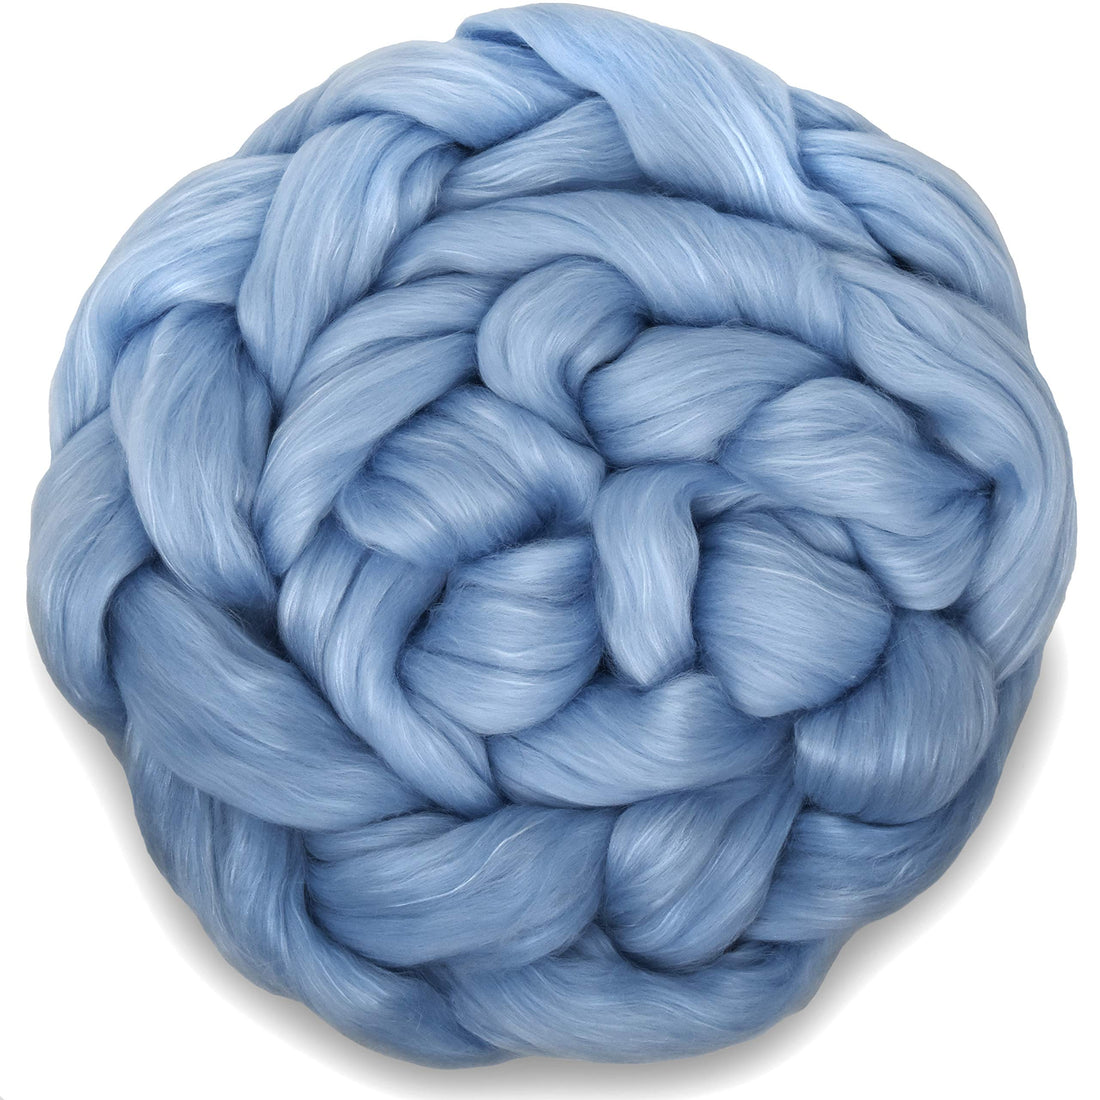
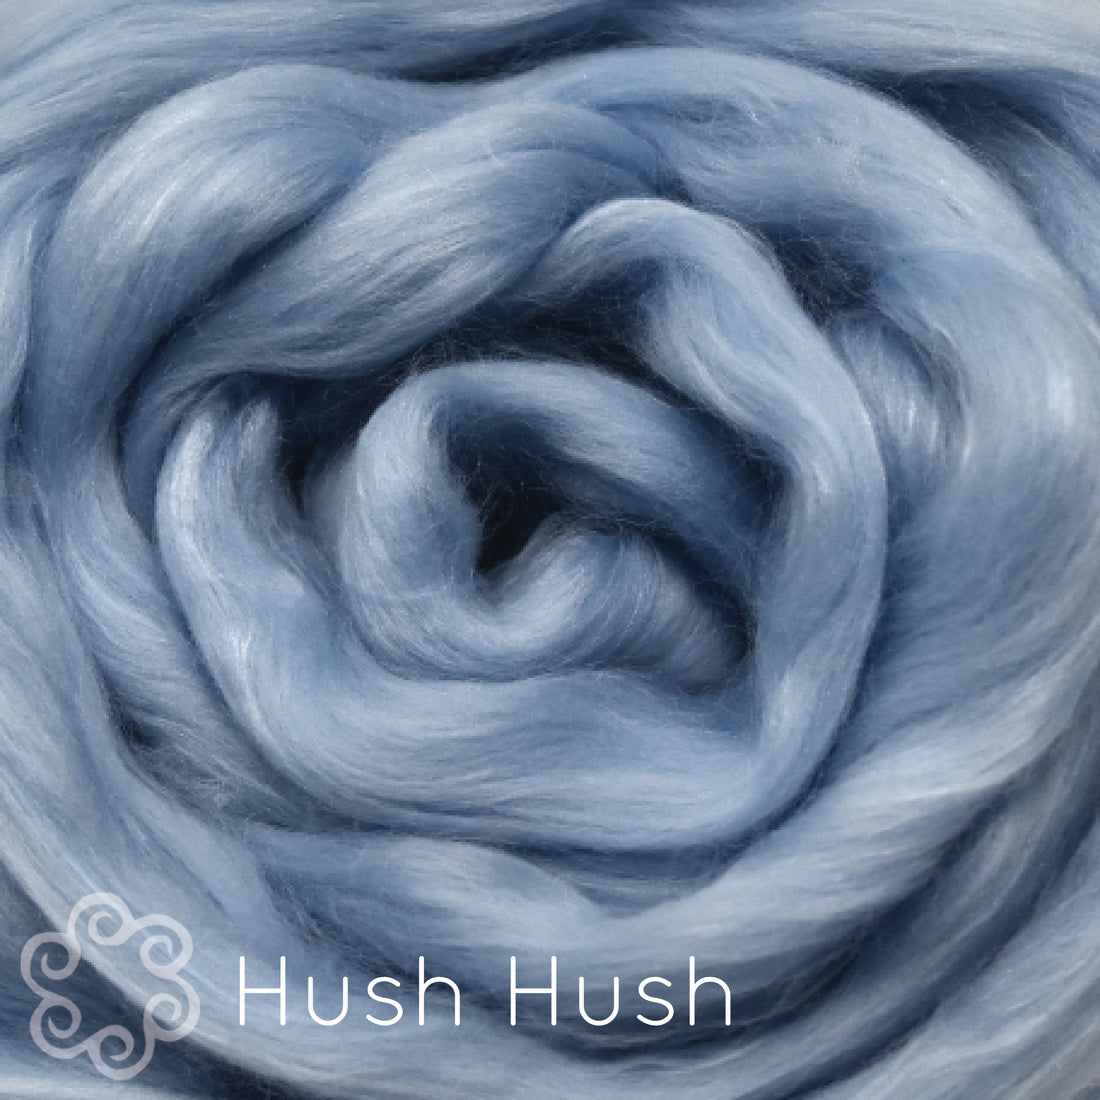
To make a simple gradient that transitions from one color to another you just need 2 colors of combed top. This beautiful white to blue gradient is perfect for magical winter projects! Malia used our luxurious cashmere blend Indulgence in the colors Cream Puff and Hush Hush.

Step 2 - Prepare Your Gradient
Split each fiber braid into 8 pieces. Leave one of each color unblended, then blend the other sections together to create a gradient. You should have 16 little floofs in total.

Step 3 - Blend
When you have all your colors separated you are ready to blend. Malia used some fancy blending combs but you can also use wire dog brushes. Take your time to ensure an even blend. This part of the process can be very relaxing if you let it be!

Step 4 - Spin
Now comes the fun part, spinning! Then, when you are ready to ply, make sure to use a plying technique that will maintain that careful gradient you're creating. Chain ply (aka navajo ply) is great for this!

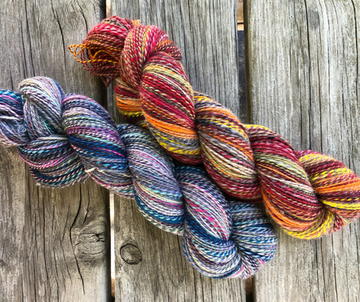
Step 5 - Take a Bow
Don't skip this step! Take a moment to admire your creation. Spinning a gradient is worth bragging about, you know!

Step 6 - Pick a Project
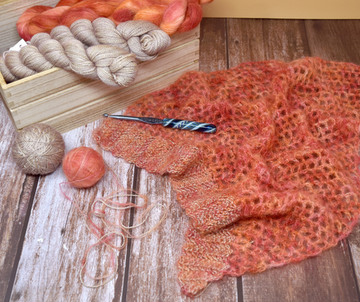
Here's the other fun part: creating something with your beautiful handspun yarn. Maliya made hers into this stunning cowl. The pattern is Knit Free by @jojilocat
If you don't have a project in mind, be sure to keep the yarn in hank form so that it doesn't get stretched out. When you are ready to work with it, then you can wind it into a ball.